
Write React Apps with Ignite UI for JavaScript React Components
Ignite UI for JavaScript fully supports modern web development. In addition to Angular, you can use the Ignite UI for JavaScript library in React. This lesson will demonstrate how to use the Ignite UI for JavaScript grid in a React application.
Lesson Objectives
- Add an Ignite UI for JavaScript grid in React.
- Configure the columns of the grid.
For more information on the controls used in this lesson, see Ignite UI Data Grid.
Setting up the Project
You may download the starter project for this lesson by clicking here. (You can also download the final project by clicking here.)
This project is already configured to work with React and Ignite UI for JavaScript React components, and all references have been added to the project. For more information, see How to use Ignite UI components with React.
In the starting project for this lesson, in addition to the React and Ignite UI for JavaScript React component libraries, you will find the following files:
- index.html: contains application markup and references.
- index.js: contains react code.
- data.js: contains data to be used as the data source for the Ignite UI for JavaScript grid.
In the project, data.js contains data to be rendered in the Ignite UI grid. File Index.js contains the App component. In index.js, you can find component class created as shown in the listing below:
var App = React.createClass(
{
  getInitialState: function()
  {
    return{
    }
  },
  render: function()
  {
    return(
     <h2>Ignite UI Grid will be rendered here</h2>
    )
  }
});
ReactDOM.render(
  <App />,
  document.getElementById("app")
);
The above App component class contains two functions:
- The getInitialState() function simply returns an Object of initial state.
- The render() function returns the description of what you want to render. In the next steps, we will render an Ignite UI grid in the render function of the App component.
You can learn more about the React.createClass API.
On the index.html, as shown in the listing below, you will find that index.js has been referenced as babel script:
<div id="app">
  <script type="text/babel" src="index.js">
  </script>
</div>
In index.html, you will also find references of React and the Ignite UI for JavaScript libraries.
After downloading the project, navigate to the directory and run the commands below:
- npm install
- npm start
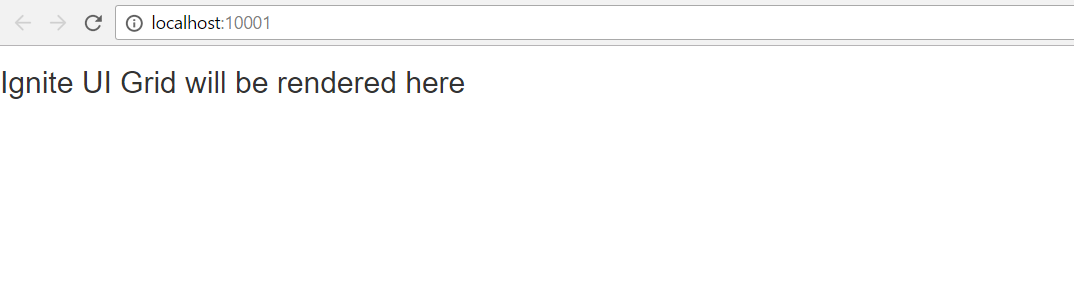
Execute the npm install command to install lite server (web server) dependencies, and execute the npm start command to run the React application. If everything is correct, you will find a React application running in the browser as shown below:
Step 1 Initialize Initial State
To initialize the grid, you may want to set values for various properties of grid such as datasource, width, row styles, etc. You can set these grid properties in the getInitialState() function. Open the index.js file and modify the getInitialState() function with the code below:
getInitialState: function()
{
  return{
    data: stocks,
    gridWidth: "100%",
    alternateRowStyles: true
  }
},
You are creating properties to set the grid’s width, row style, and data source. In addition, you will find there is already an array called "stocks" in the application.
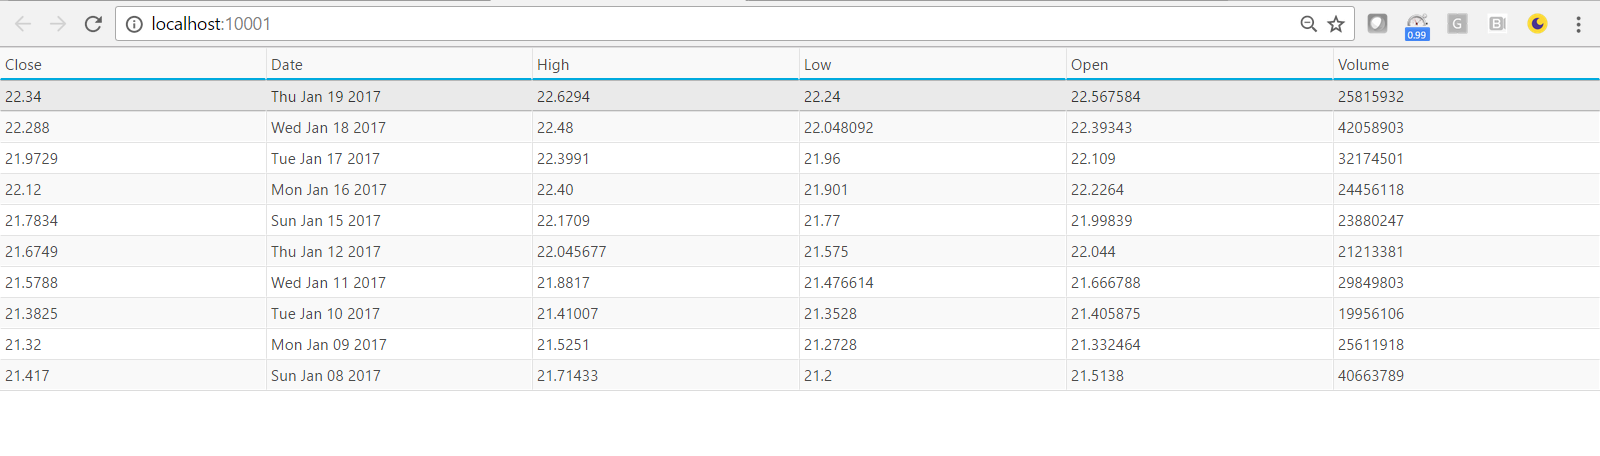
Step 2 Render the Grid
To render the grid, you must return it from the render() function of the component class. To return IgGrid, open index.js and modify the render function as shown below:
render: function()
{
  return(
    <div>
      <IgGrid id="grid1"
              autoGenerateColumns={true}
              dataSource={this.state.data}
              width={this.state.gridWidth}
              alternateRowStyles={this.state.alternateRowStyles} />
    </div>
  )
}
You are setting dataSource, width, and alternateRowStyles properties with the properties of the object returned from the getInitialState() function.
Navigate to the application to find the React application running with the Ignite UI for JavaScript grid as shown below:
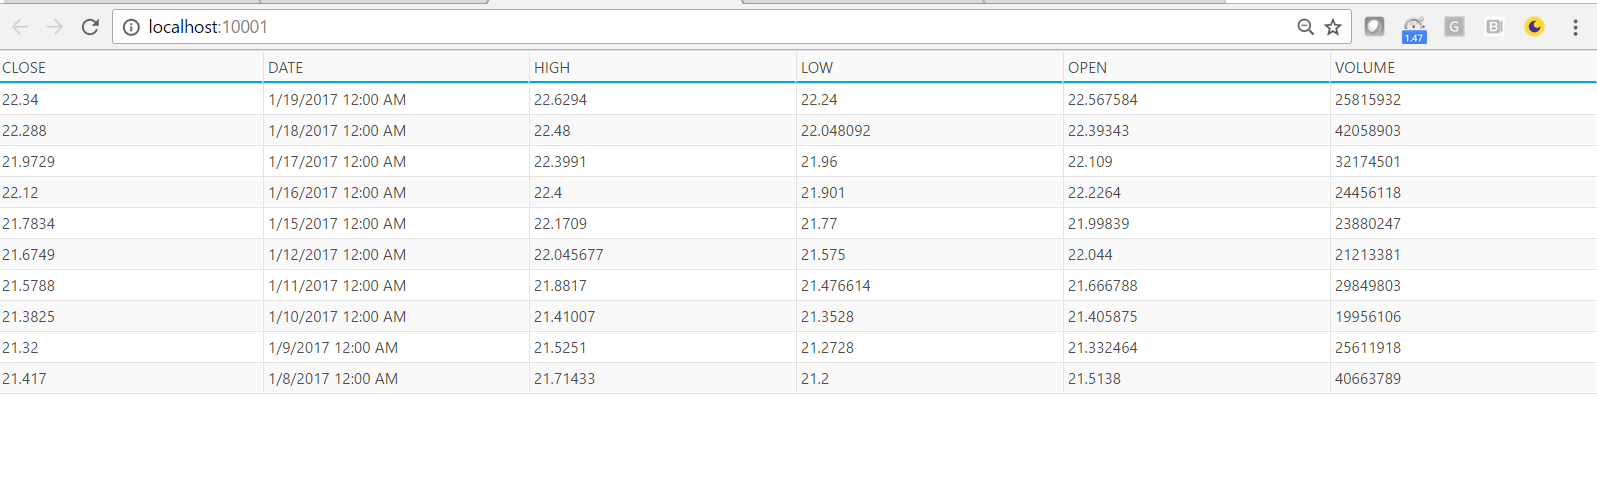
Step 3 Configure Columns of the Grid
In the previous step, you set autoGenerateColumns to true in order to create a grid. You can also configure selected columns from the data set to display. To do so, you must configure columns for the Ignite UI for JavaScript Grid by setting the autoGenerateColumns property to false and adding the columns property in the grid. Modify the IgGrid in the render() function as shown in the listing below:
<igGrid id="grid1"
        autoGenerateColumns={false}
        dataSource={this.state.data}
        width={this.state.gridWidth}
        alternateRowStyles={this.state.alternateRowStyles}
        columns={[
          { headerText: "CLOSE", key: "Close", dataType: "number" },
          { headerText: "DATE", key: "Date", dataType: "date", format: "dateTime" },
          { headerText: "HIGH", key: "High", dataType: "number" },
          { headerText: "LOW", key: "Low", dataType: "number"},
          { headerText: "OPEN", key: "Open", dataType: "number"},
          { headerText: "VOLUME", key: "Volume", dataType: "number"},
        ]}
/>
Navigate to the application to find that a grid has been configured with the columns.
Conclusion
React is quickly becoming a very popular option for building client-side JavaScript applications. Enterprises are already looking at using React for their line-of-business applications. Ignite UI for JavaScript supports modern web development with controls that can be used with modern frameworks such as React.